
Live Chat Software by Kayako |
Knowledgebase: Hosted PBX > Time Frames
|
Creating Time Frames
Posted by Albert Diaz, Last modified by Albert Diaz on 01 September 2018 02:55 AM
|
|
|
Time Frames determine specific hours of certain days or a span of days when features like Time of Day Phone Number Routes and User Answering Rules will be active. A PBX system may have multiple time frames to help determine all the specific times when certain actions or operations may occur. Common time frames may include:
Tips:
There are 3 types of Time Frames.
Creating Time Frames 1. Login to the PBX Dashboard and go to the Time Frames page. 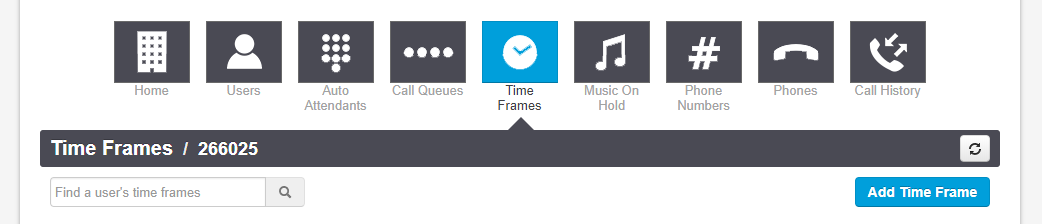 2. The first type of time frame you should create is an "Always" or "Catchall" time frame. This will kick in when no other time frame is applicable. 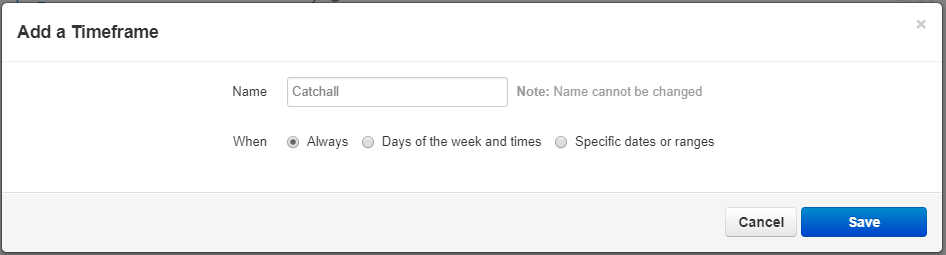 3. Next you may want to create a "Business Hours" time frame. For this type of time frame you will use the "Certain days of the week and times" option. 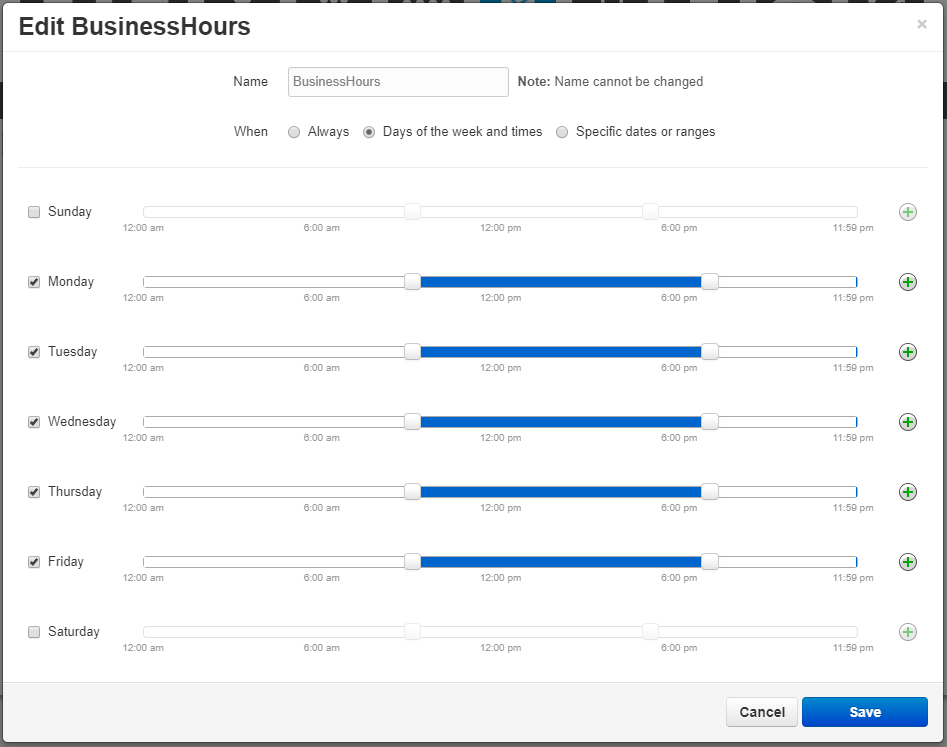 4. Some Customers like Doctors offices may have 2 ranges within the one day when they are open. For example: 9AM - 1PM and 2PM - 5PM. To create a split range like this click on the green + sign.  5. You can also create a "Holiday" time frame with certain calendar days you know will be closed or need special routing that you would like to configure in advanced. For this type of time frame you will use the "specific date or ranges" option. If specifying a single day like July 4 select the same date in the From and To. If specify a date range pick the first and last date like December 31 and January 1. To add multiple days or ranges click the green + sign. 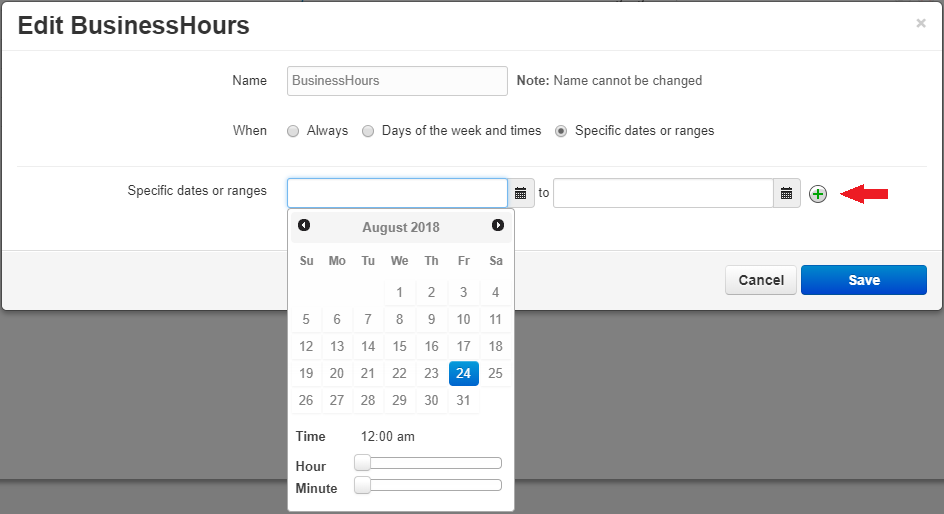 Don't forget that you can create as many time frames as you'd need or like. Once you are done creating your time frames you are ready to setup the rest of your PBX. | |
|
|
Comments (0)