Add / Edit an Auto Attendant
Auto Attendants are a great way to answer inbound calls with a professional greeting. They present callers with pre-configured routing options and alleviate the need to a full time receptionist.
Some things to know.
- Auto Attendants have an extension number. You should try to use a value within our recommended extension numbering range.
- Although an Auto Attendant can be assign a custom Time Frame we do NOT recommend it. This is typically not necessary and can complicate routing. Most time frame management will happen at the Phone Number or within a special "routing" user.
- Auto Attendants support 2 sound files. These are called the Intro Greeting and Menu Prompt. Most customers have their entire message in the menu prompt. However, you can split the message and use both. Intro files will play first then menu files afterwards.
- Have your sound files ready or you can also choose to have the system call you at an extension to record your greeting. Every auto attendant also has a dedicated star code that when dialed allows you to update the greeting. This is great for customers that need to update their greetings regularly.
Create an Auto Attendant.
This requires admin or office manager access.
1. Login to the PBX as an Admin of Office Manager.
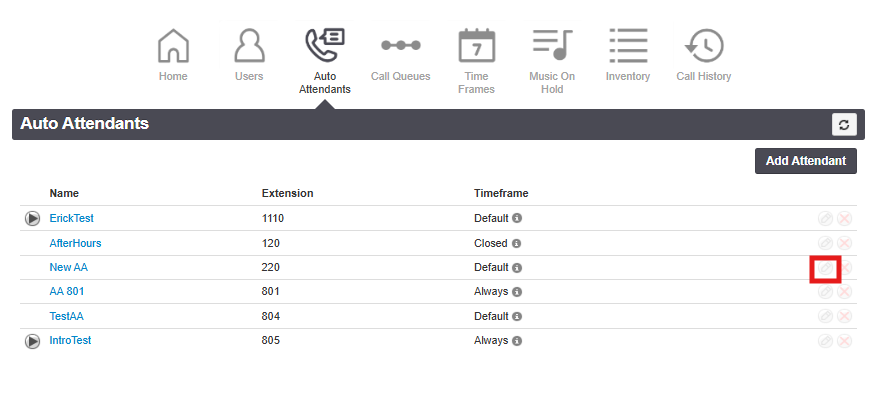
2. Go to the Auto Attendant page and click Add Attendant.
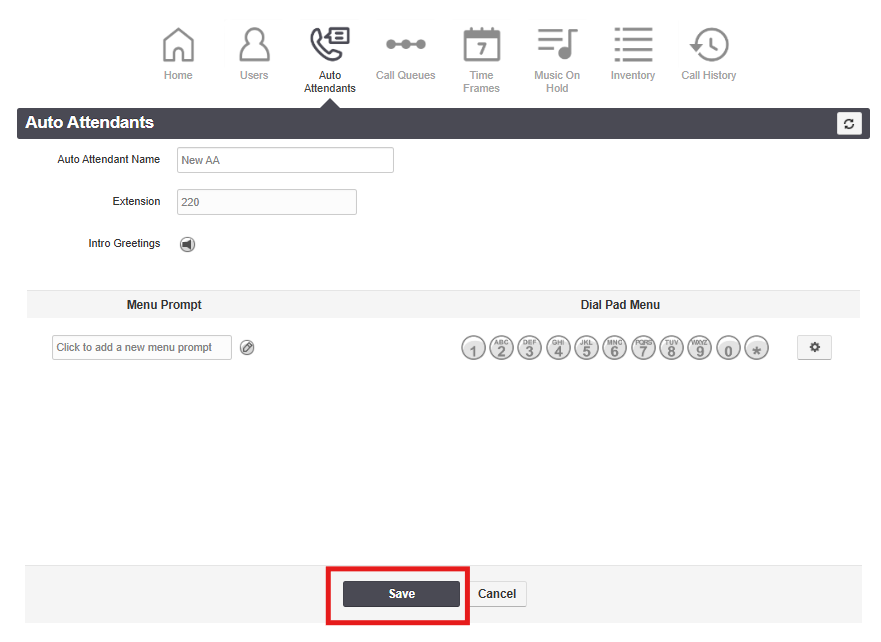
3. On the Add Attendant window enter a Name, Extension number, and select the Time Frame "default all the time". You can use a custom time frame with special care and advanced knowledge of the routing methods.
4. Click Add
5. Click the Speaker icon to add your sound files.
6. Click a number option 1,2,3, etc... to configure what destination or feature it will route to when pressed.
7. Click the Settings icon for advanced functions. This is normally not needed.
8. Once finished click Save.
To Edit an Auto Attendant.
This requires admin or office manager access.
1. Login to the PBX as an Admin of Office Manager.
2. Go to the Auto Attendant page and click Add Attendant.
3. Click the name of the menu you want to edit.
4. Make you changes and click Save.
Related Articles
Add / Edit Call Queues
Call Queues are a great way to manage high traffic inbound call flows. When a caller reaches a queue, usually from an Auto Attendant or direct Phone Number route, the caller is placed in a virtual hold while the system tries to find an available User ...Add New Hosted PBX & Users
Create a PBX Add or Search for an existing customer. To search for a customer type any customer info in the search field of the Get Started window or after clicking Search on the left grey menu of the Customers section. Click the Hosted PBX Tab on ...Change Greeting on an Auto Attendant
There are 3 ways to update the greeting on an Auto Attendant. Upload via the portal. From an Extension using the portal call back. From any Extension using a star code. How to upload a greeting via the Portal This requires admin or office manager ...Auto Attendant Features
Auto Attendant Options: User: This option allows for calls to be directed towards a User. Call Queue: This option allows for calls to be directed towards a Hunt Group/Call Queue. Directory: This option allows the call to dial the First 3-Letters of a ...Polycom Auto Provision Overrides
How to configure Auto Provisioning Overrides for Polycom devices. The RingLogix device auto provisioning system will configure the main line appearances and several of the features supported by most devices like BLF, speed dials, feature toggles, ...