Add / Edit Call Parking Lots
The RingLogix PBX Platform offers 3 methods of Call Parking.
1. Dynamic: the User dials the star code " *** " during an active call and it is automatically parked in the first available parking lot. The system will then announce the lot number the call was placed in. (Good)
2. Static: The User will transfer the call to a specific parking lot. (Better)
3. One Button: Another version of static parking where the User presses a line key and the call is automatically parked on that button / lot number. Currently Yealink and GrandStream devices support this option. (Best)
Some Things to Know.
- All methods require creating the Parking lots first. Most customers are good with 3-5 lots but you may create as many as needed.
- All Parking Lots must have an extension / lot number in the 701 - 749 range.
- All methods of parking support presence. This allows you to see if a call is in the lot or not.
- One Button Park is the preferred method by most Users. Especially Users migrating from a key system. It offers the easiest way to park and un-park calls and is most similar to the way key systems work.
- Parking Lots are created and managed in the Queues section of the PBX Portal.
Parking Lot Extension Ranges.
- (701 - 709) Are reserved for Dynamic parking lots.
- (710 - 719) Are reserved for Static and One Button parking lots with Ringback enabled.*
- (720 - 749) Are reserved for Static and One Button parking lots.
*The default ringback timer is 5 minutes (300 seconds). Instructions to adjust this timer are located below.
Create a Parking Lot.
This requires admin or office manager access.
1. Log in to the PBX as an Admin or Office Manager.
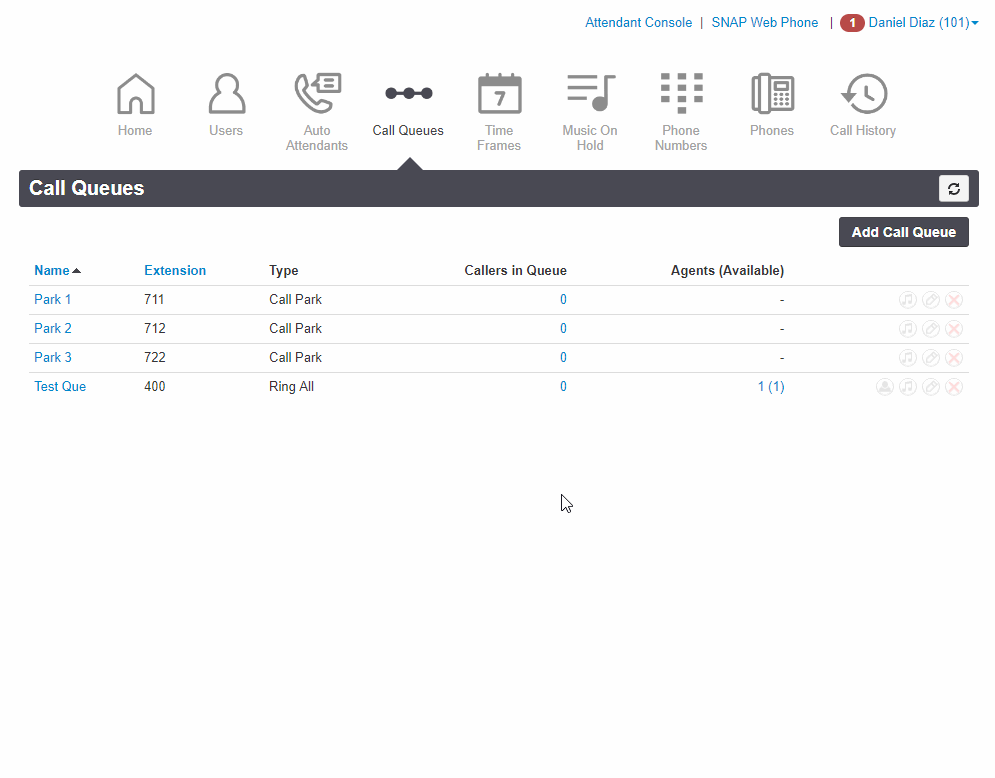
2. Go to the Call Queues page and click Add Queue.
3. In the Add a Call Queue Window enter a Name, Extension and select the Type of "Call Park"
Example:
- Name: Lot 1
- Extension: 701
- Type: Call Park
How to Adjust Ringback Timer
1. Identify the Parking extension number
2. Go to the Users page.
3. Uncheck "Hide System Users" at the bottom right of the page.
4. Click the extension for the queue user you want to adjust.
5. Go to the Answering Rules page and adjust the ring timeout as needed.
6. Return to the Users page to hide the system users again.
`
Related Articles
Add / Edit Call Queues
Call Queues are a great way to manage high traffic inbound call flows. When a caller reaches a queue, usually from an Auto Attendant or direct Phone Number route, the caller is placed in a virtual hold while the system tries to find an available User ...Call Parking Ringback
Overview By default, parking lots created in the 710 - 719 range will have ringback enabled. This means that calls parked in this range will "ring back" to the original extension that parked the call after the default 5 minute timer has expired. More ...Adjust Ringback Timer for Parking Lots
Parking lots in the 701-709 (Dynamic) and 710-719 (Static) ranges have the Ringback feature enabled. The Ringback feature will monitor how long a call has been held in a parking lot for and return it to the original extension if it exceeds the ...Add / Edit an Auto Attendant
Auto Attendants are a great way to answer inbound calls with a professional greeting. They present callers with pre-configured routing options and alleviate the need to a full time receptionist. Some things to know. Auto Attendants have an extension ...Add an Agent to a Call Queue
After you have created a call queue you can then add Agents to it. However, when adding an Agent you will have to select a specific device that belongs to that Agent. This concept allows an agent to have a main desk phone that is part of a queue and ...