Live Chat Software by Kayako |
|
Add New SIP Trunk
Posted by Albert Diaz, Last modified by Albert Diaz on 28 August 2018 03:23 PM
|
|
|
Our white label SIP Trunk solution is compatible with any SIP enabled device. This includes IP PBX systems and FXS or PRI Gateways that convert SIP signaling to traditional handoffs used by legacy PBX and key systems.
Add a SIP Trunk
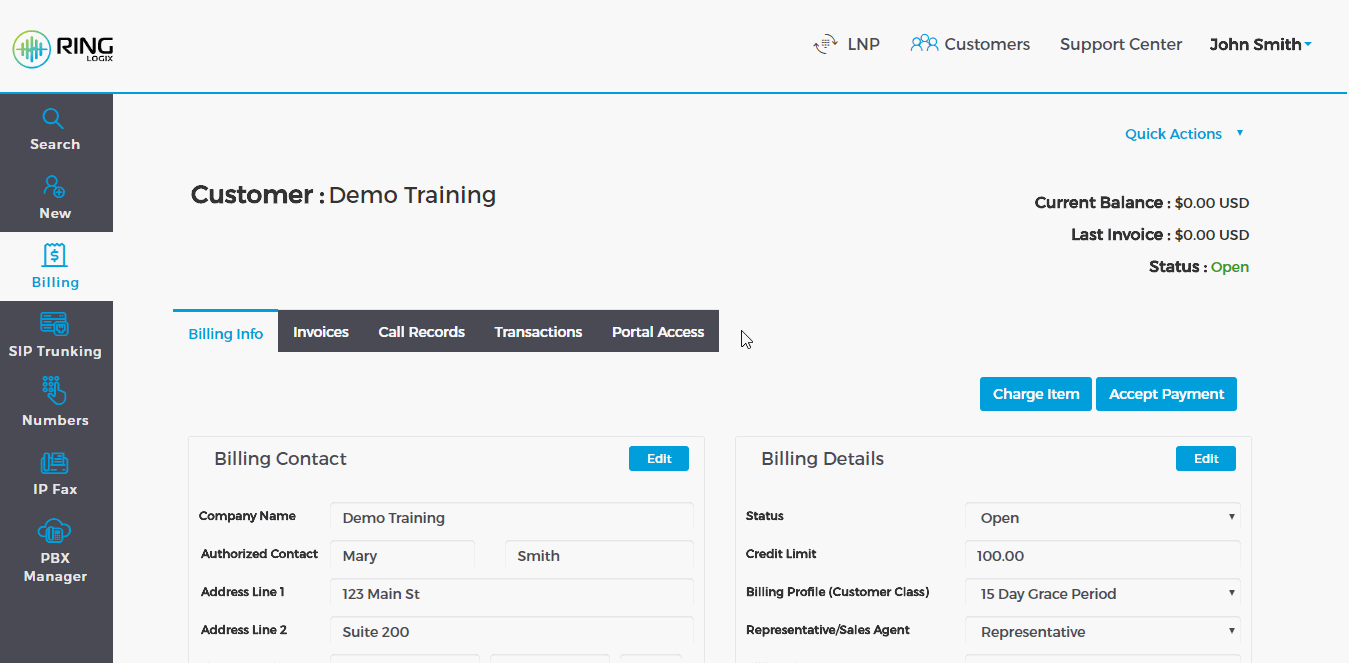
*Note: Subscriptions activate on the selected Start Date. Once a subscription is activated the billing system will calculate the prorate charges for the current billing period. Prorated charges will be included on the next invoice. See our Customer Billing Articles for more information. Manage the SIP Trunk Click the Settings icon to enter and setup the SIP Trunk features like call routing, permission and failover. Registration details including the SIP Server, Username and Password are visible here. Connected devices will show Online and display the current registration details. Don’t forget to Purchase or Port, and Route your Phone Numbers. *Note: See our SIP Trunking articles for more Information on configuring and using a SIP Trunk. | |
|
|