Live Chat Software by Kayako |
|
Porting Phone Numbers
Posted by Albert Diaz, Last modified by Albert Diaz on 01 September 2018 02:16 PM
|
|
|
The RingLogix porting system is an automated self-service LNP management tool that allows Partners to submit port request directly to our underlying carriers. By following our simple 3 step wizard you can transfer your customers numbers quickly and efficiently while reducing provider side paperwork and ticket follow ups. Our managed LNP solution is a concierge service that increases port success rates and greatly decreases common issues with rejections due to informational mismatches. Should a common rejection for address or name mismatch occur our system will automatically attempt to retrieve the correct information via a CSR request and automatically update the order for you. This article will walk you through the 3 steps for submitting a port request. Look for more information below on the typical life cycle of a port request
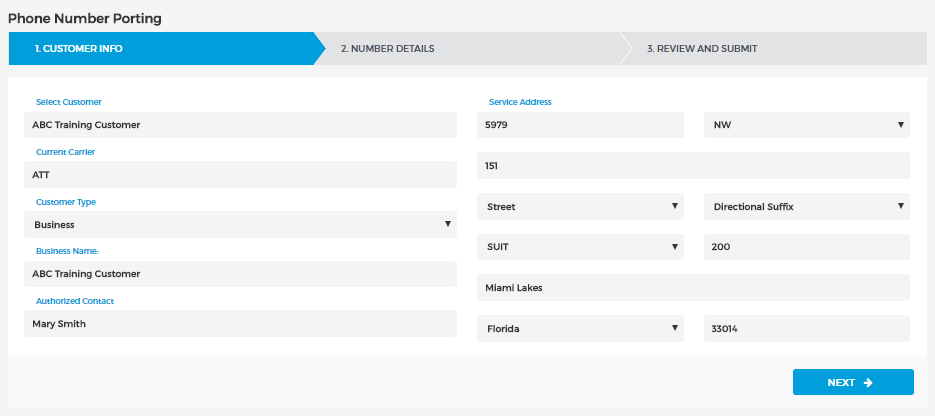
Submitting a Number Port.
Fig-1
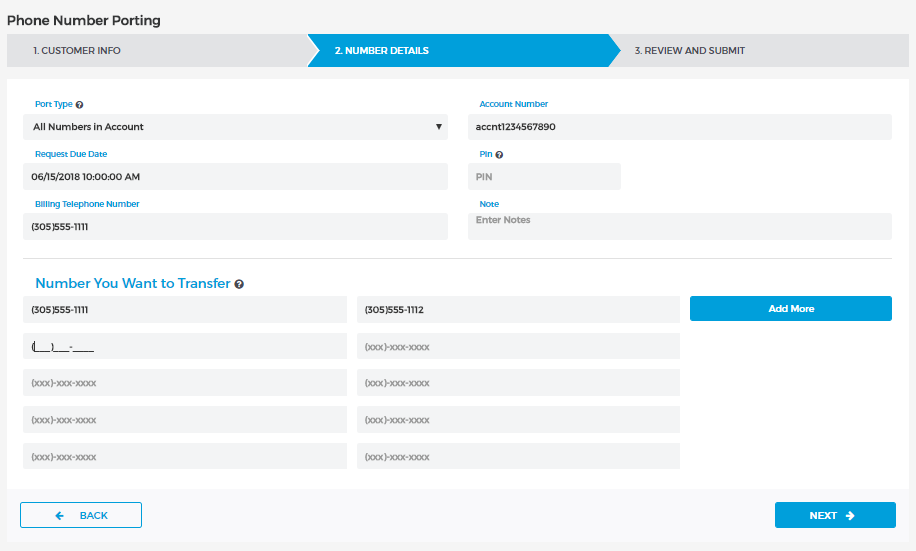
Fig-2a
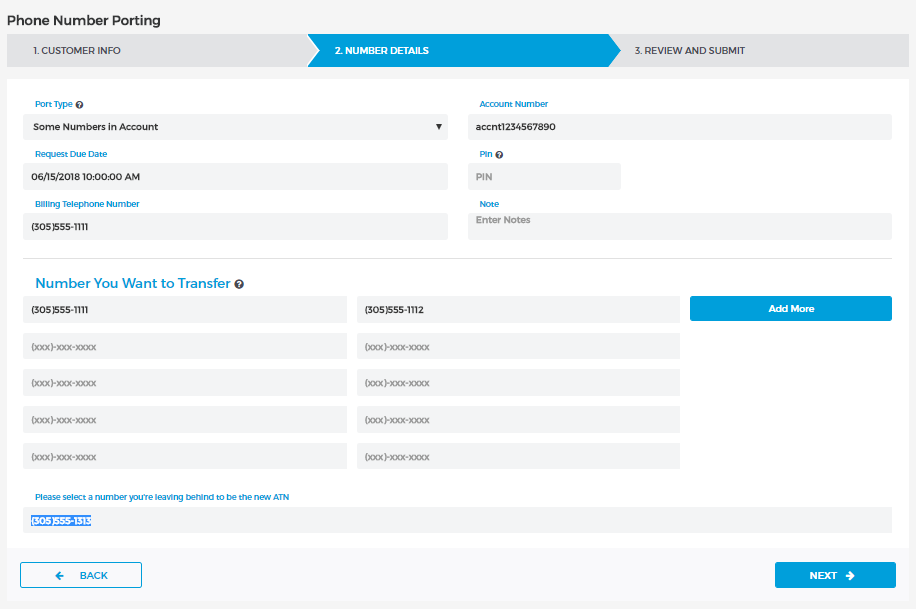
Fig-2b
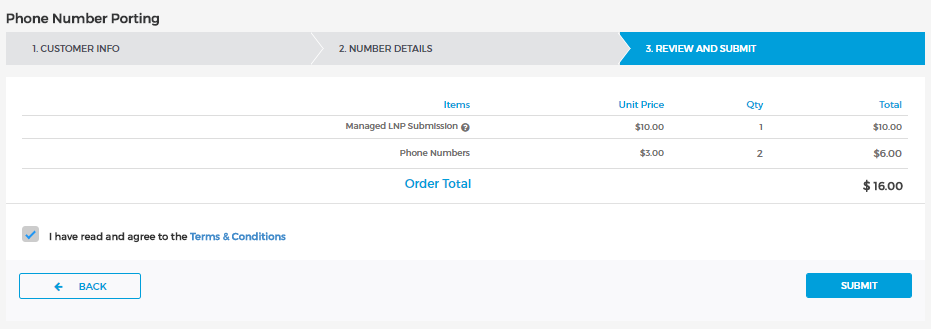
Fig-3
| |
|
|