Live Chat Software by Kayako |
|
Grandstream UCM61XX Configuration Guide
Posted by , Last modified by Albert Diaz on 27 August 2018 02:13 PM
|
|
|
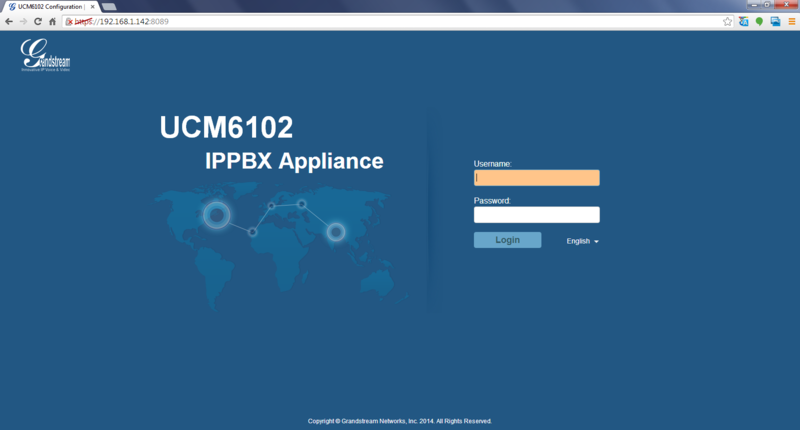
To log into the PBX, use the IP address found on the LED screen of the UCM. Use a web browser and go to that address. Since the web GUI is using https, it will warn you that the "site's security certificate is not trusted" or you will see an SSL error depending on which browser is used. Proceed to view the login page for the UCM. Default Username: admin Default Password: admin
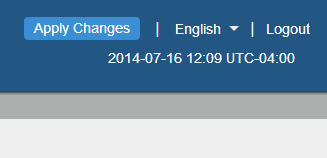
Throughout this knowledge base, you will be saving and making updates to the UCM. When a change has been saved, it will show an "Apply Changes" button at the top right. Please click on the button to apply the changes or modifications that have been saved.
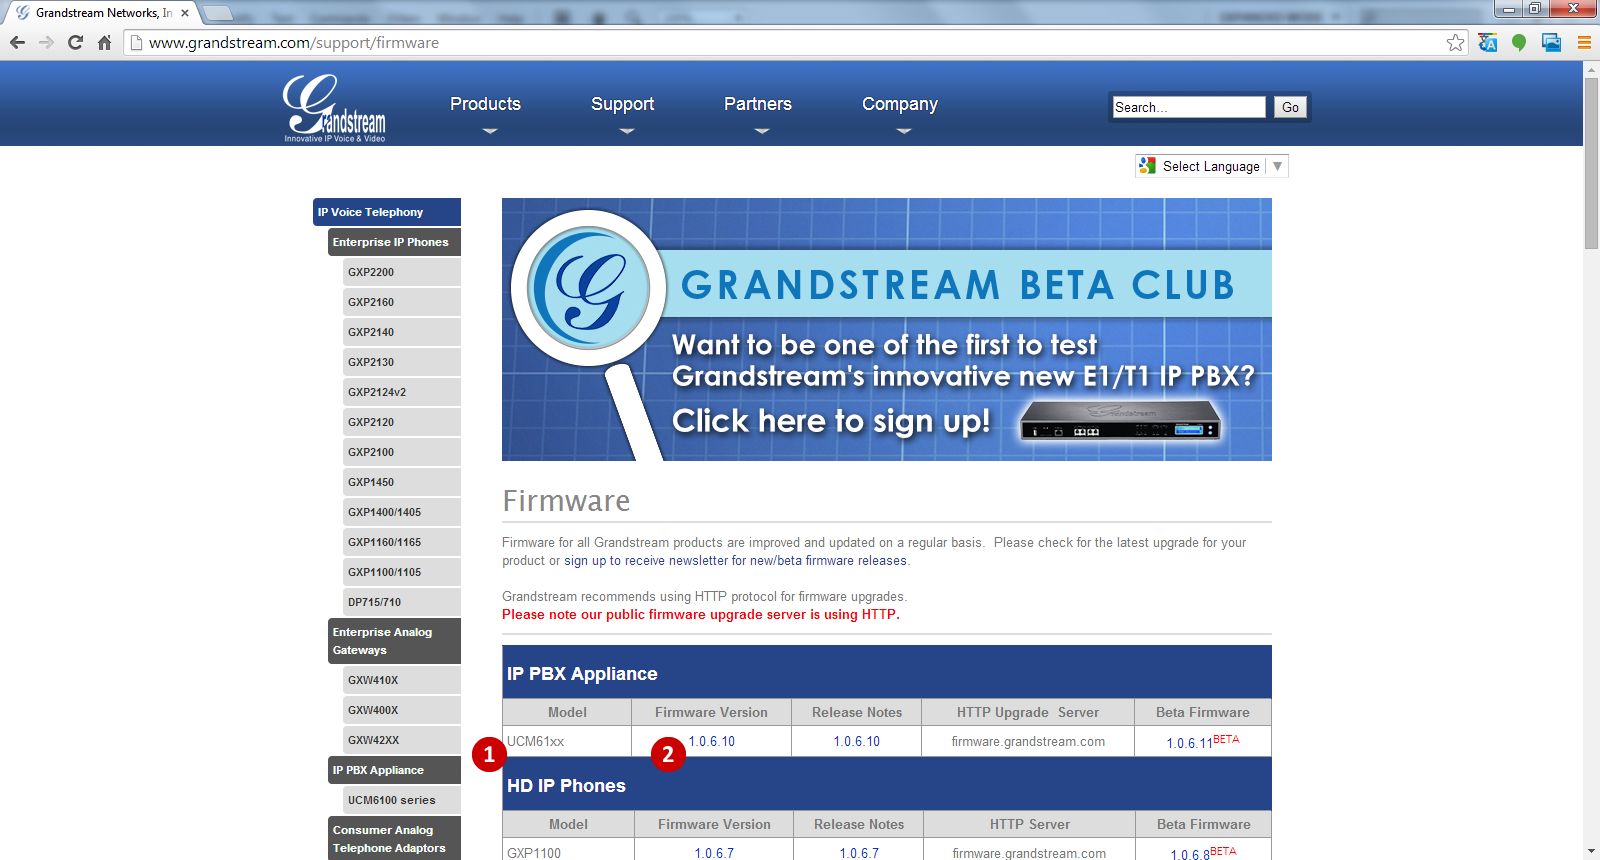
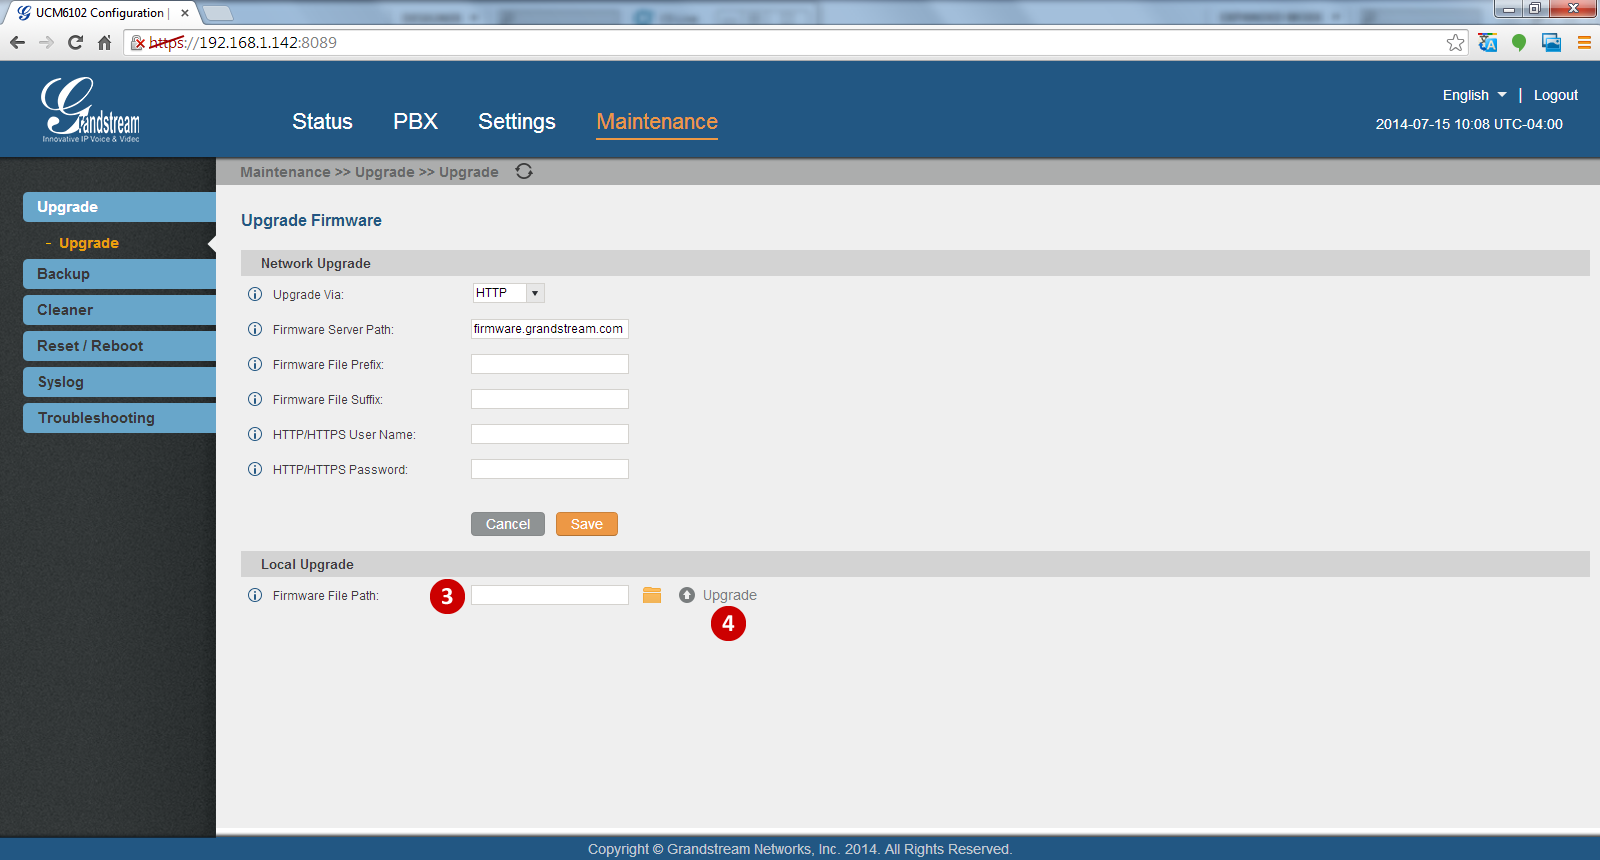
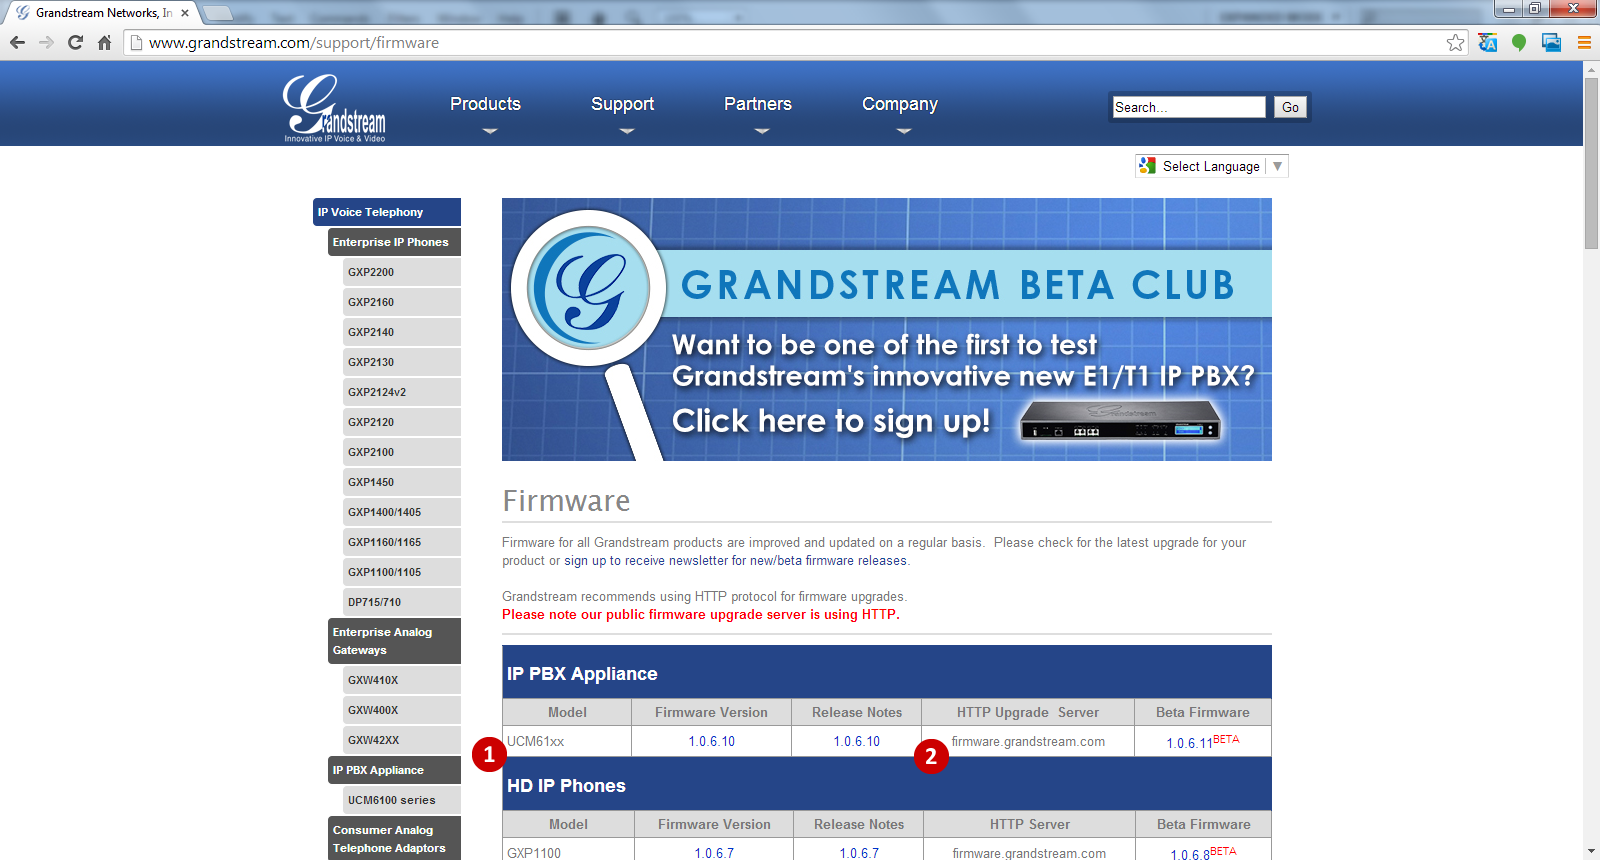
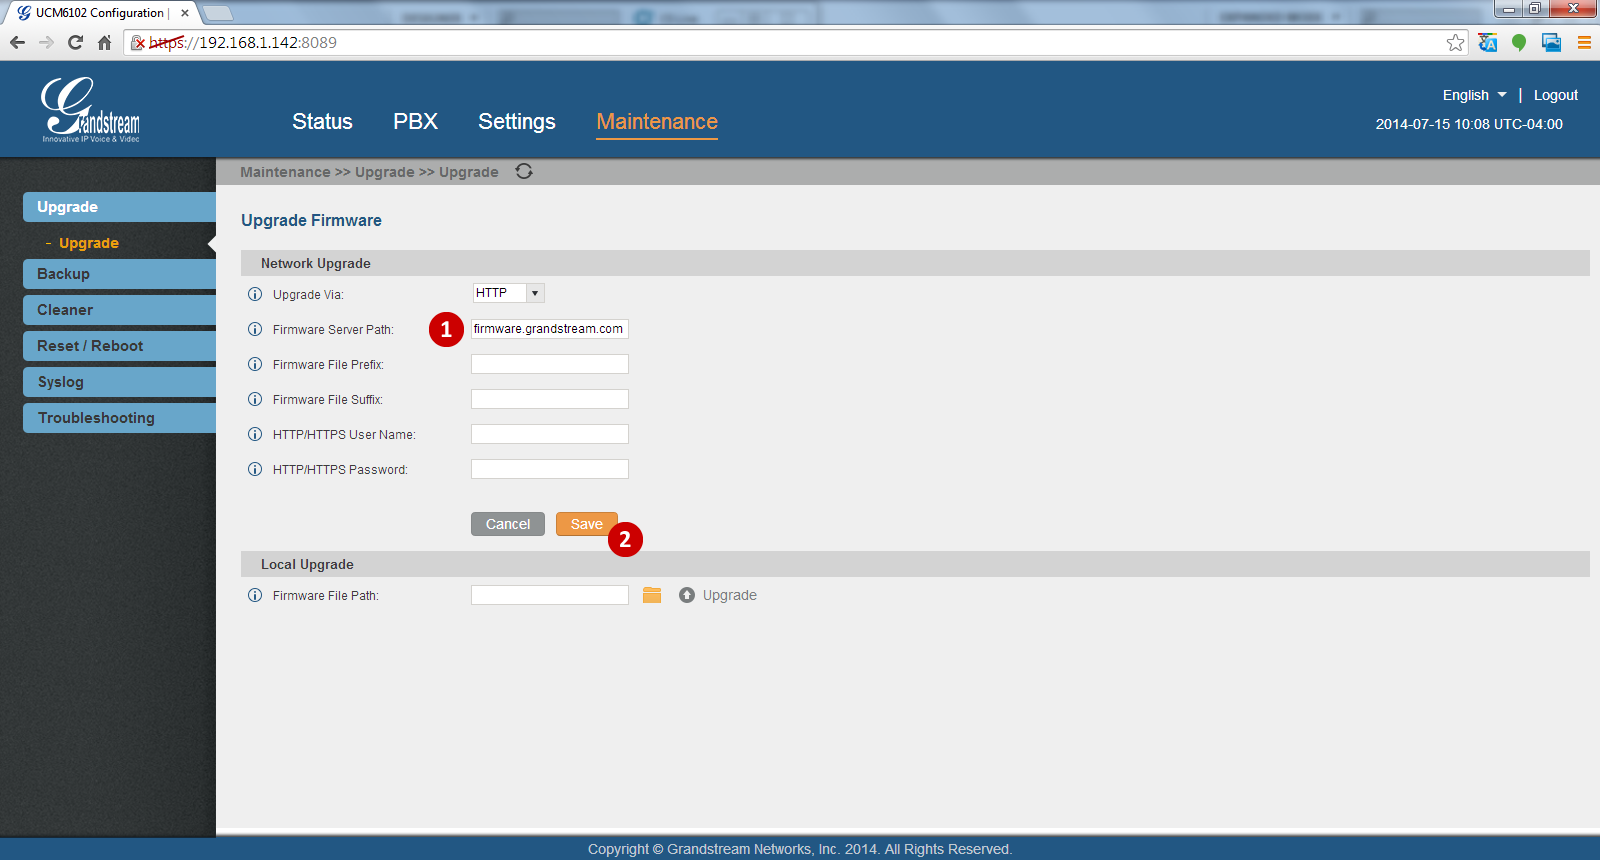
FirmwareFirst thing that should be done is update the firmware on the UCM61XX. There are two ways to do this. First please open the following link in another tab or browser; http://www.grandstream.com/support/firmware.
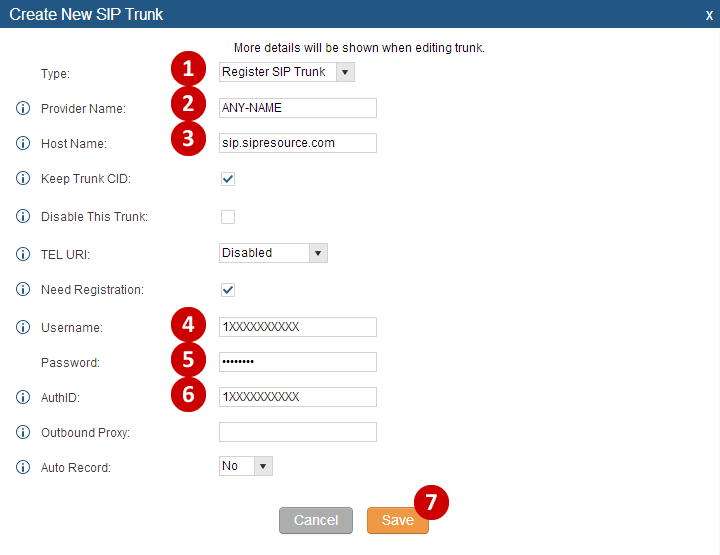
VoIP TrunkSetting up a VoIP Trunk. Go to PBX, Basic Call Routes, then VoIP Trunk, and click Create New SIP Trunk.
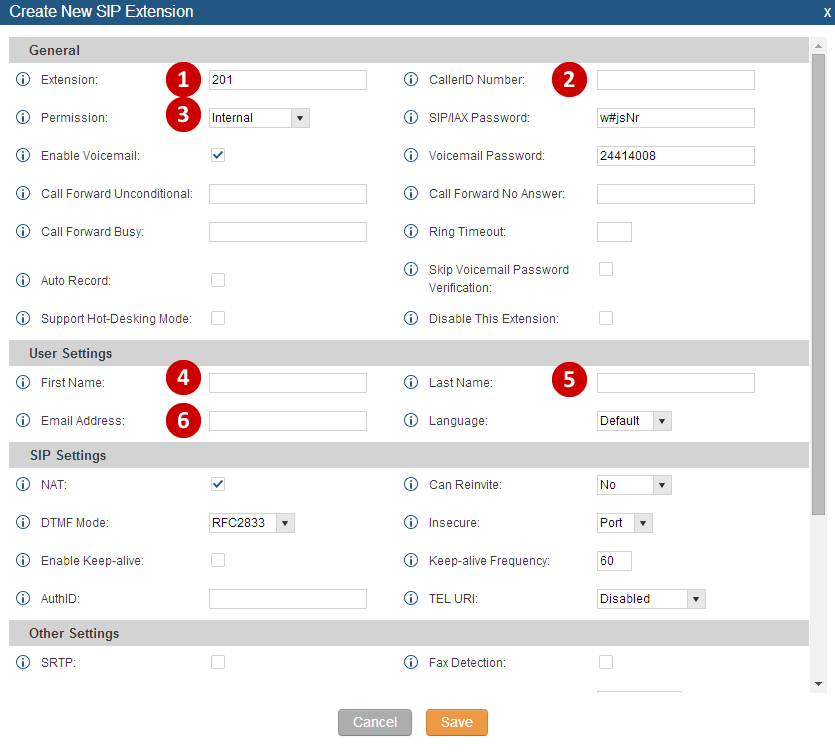
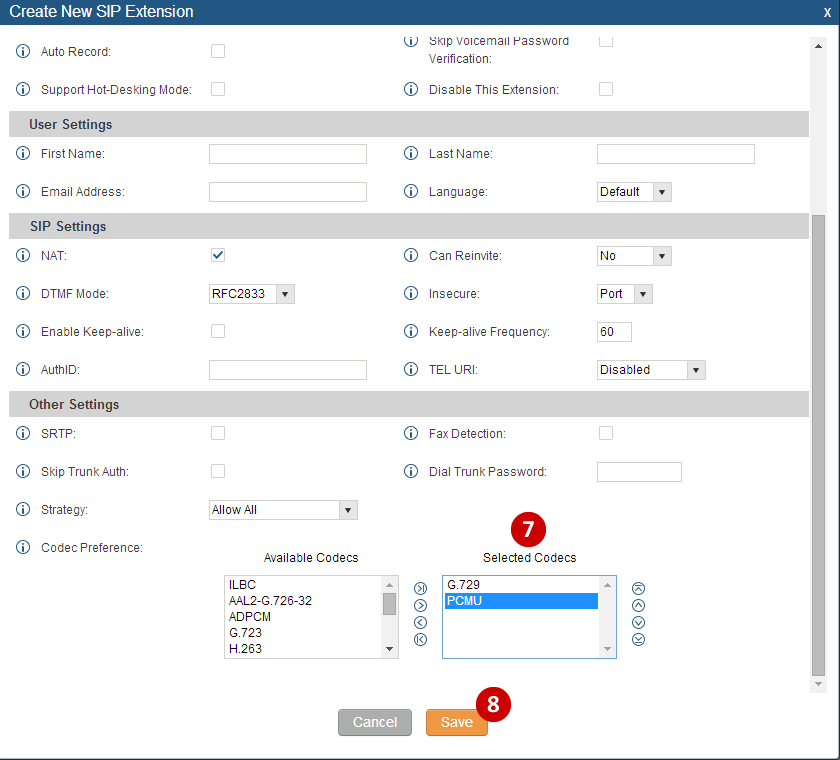
SIP ExtensionsExtension Preferences The system comes preconfigured with ranges for extensions. To edit these ranges or disable the extension range go to PBX, then Internal Options, and select General. Here you will find Extension Preferences. For this example I have changed the User Extensions range to 200-299 and left the rest of the ranges with default settings. Creating extensions can be done one at a time, or in bulk by exporting a CSV file (For SIP Extensions. Use row 2 as an example, but delete this row before importing into the UCM. Save as MS-DOS when editing in Excel.), then import the CSV file with the updated information for the extensions. For this example we are going to create an extension through the web interface. Go to PBX in the menu, then Basic/Call Routes and select Extensions and click Create New User. At any time, hover over the "i" icon to see information on a specific settings.
These are basic options, if other options are needed, please review the information provided on the information icon and use as needed. Note the SIP Password is needed for phone registration. Also note the voicemail password can be changed here as well.
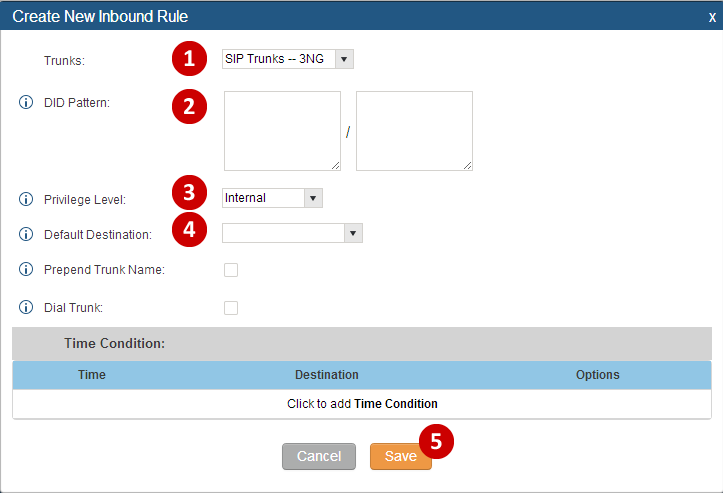
If Ring Groups (Hunt Groups) and IVRs (Auto Attendants) are needed, please go to PBX, then Call Features. Here a Ring Group can be created by assigning a name and added extensions that have already been created. For an IVR, please click on Create New IVR. Name the IVR (main-open) and select events for the available options. Note that a prompt link has been provided to record prompts for IVRs. Each IVR has three prompts which can be used. The Welcome Prompt, the Response Timeout Prompt, and the Invalid Prompt. By default the system does have basic prompts enabled. Inbound & Outbound RoutesThe last two things required are Inbound and Outbound Routes. We will only be using or entering required information. Some fields or options are optional and may not be required. For Inbound Routes, click Create New Inbound Route.
Time Conditions can be set if needed. Inbound Routes can be used for multiple DIDs where users might need their own DID. If DIDs share the same Inbound Route, multiple DIDs can be entered in the DID Pattern, such as a main number and a toll free number. Patterns should be eleven digits. e.g.: 18005559876.
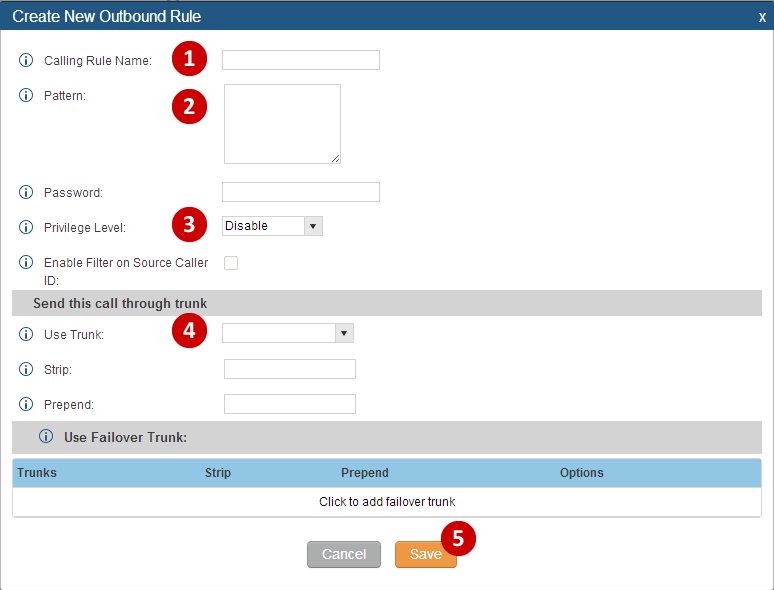
For Outbound Routes, click Create New Outbound Route.
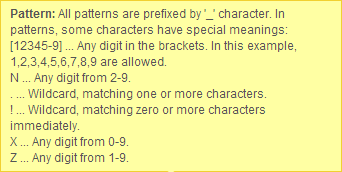
Call PatternsPatterns for the route can created as needed. It is important to consider 911 for emergencies. If the user needs to make international calls also consider creating an Outbound Route for international Calls.
Domestic: Local:
International:
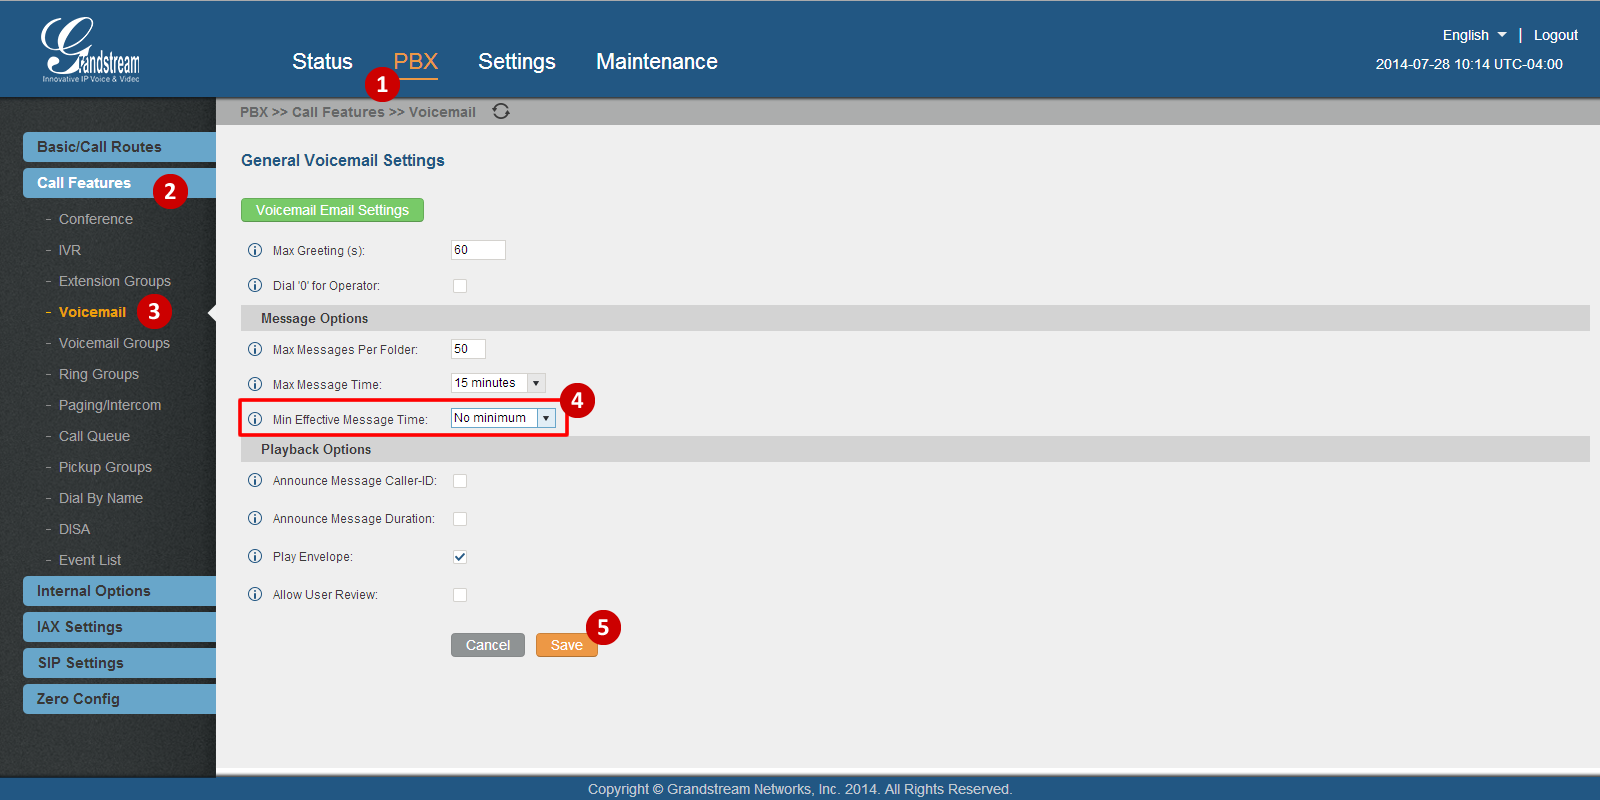
VoicemailBy default the system is set to ignore voicemails shorter than three seconds. Because some messages may be shorter than three seconds, the system will ignore those e-mails and the user will not receive those voicemails. To correct this, the minimum Effective Message Time needs to be set to No minimum. This way, any and all voicemails will be delivered by the system. To do this, go to PBX --> Call Features --> Voicemail --> Min Effective Message Time. Change to No Minimum and click Save (and apply changes at top right).
RecommendationsIt is also recommended to create a backup and change the default password. To create a backup, go to Maintenance, then Backup, and select Local Backup. From the Manage Configuration Backups, select what needs to be backed up. By default the Config-File has been selected. To create, click Create New Backup. Once created, the file can be downloaded. It is a good idea to keep the backup available off the PBX, incase the device fails. To change the default password, go to Settings, then Change Password. Enter the Old Password, then Enter and Retype the New Password. Please note that no one other than the person creating the new password will know the new password. If the password is forgotten, it may be necessary to do a factory reset. | |
|
|