
Live Chat Software by Kayako |
Knowledgebase: Phone Numbers
|
Route Phone Numbers to a Service
Posted by Albert Diaz, Last modified by Albert Diaz on 01 September 2018 11:05 AM
|
|
|
All phone numbers can be assigned to any service on the RingLogix white label platform. For more complex requirements, advanced routing methods allow you to route a number sequentially or simultaneously to one or more onnet and offent destinations with time of day settings.
To control the routing of any number 1. Login to the RingLogix App.2. Search and Select an existing Customer. 3. Click the Numbers link on the grey menu to go the the numbers list page. 4. Click the Settings icon for the desired number. 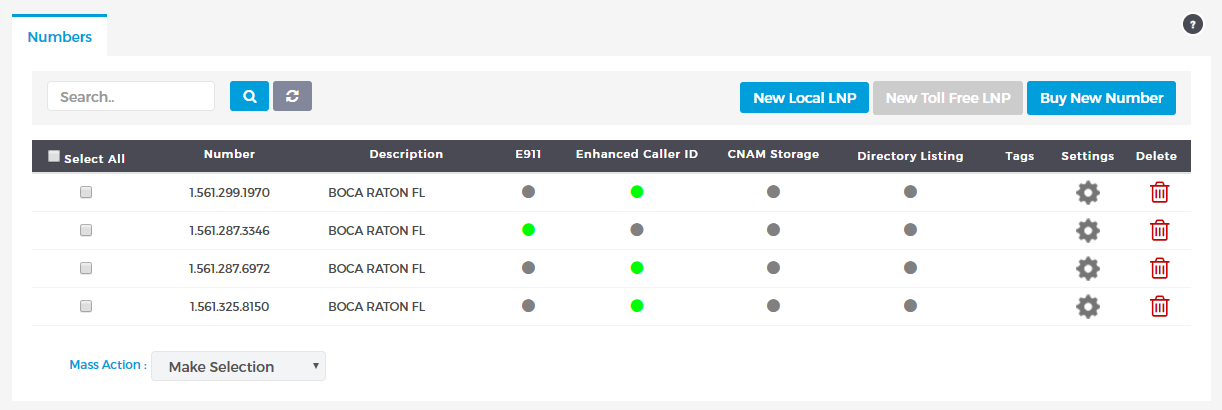 5. Set the Routing Method.
 6. Click Save Changes. *Note: Always place a test call after routing a number to ensure its operating as expected. | |
|
|